Water Softeners Installation Services
When installing a water softener, you need to start by selecting the right location near your main water supply line and an electrical outlet. Make certain you have the appropriate tools and materials ready for a smooth installation. Connect the softener to your plumbing securely to avoid leaks and set up the brine tank according to the manufacturer’s instructions. Understanding these steps is vital, but there’s more to take into account for peak performance and longevity.
Top Water Softener Installation Tips and Takeaways
- Choose a suitable location for the water softener, ideally near the main water supply line and a drainage point.
- Ensure proper plumbing connections by following the manufacturer’s installation instructions for both inlet and outlet lines.
- Install a bypass valve to allow water flow during maintenance or emergencies without disrupting the entire system.
- Connect the system to a power source if required, particularly for salt-based systems with electronic controls.
- Test the system after installation to verify proper operation and check water hardness levels for effective softening.
Understanding Hard Water and Its Effects
Understanding hard water and its effects is essential for maintaining your plumbing system and appliances. Hard water contains high levels of calcium and magnesium, leading to mineral buildup in pipes and fixtures.
This buildup can reduce water flow and pressure, causing inefficiencies in your system. To identify hard water, check for white, chalky deposits on faucets or inside appliances like dishwashers and water heaters.

Regularly inspect these areas and use vinegar or a descaling solution to clean mineral deposits. If you notice a decrease in appliance performance or increased energy bills, hard water might be the culprit.
Implementing preventive measures, like routine maintenance, can help mitigate these issues and prolong the lifespan of your plumbing system and appliances. Additionally, professional plumbers in Miami Dade County can provide expert advice on managing hard water challenges effectively.
Benefits of Using a Water Softener
While you may not realize it, using a water softener can considerably enhance your home’s water quality and overall efficiency. By removing hard minerals like calcium and magnesium, a water softener improves your water’s taste and reduces scale buildup in pipes and appliances.
This not only prolongs the life of your water heater and dishwasher but also saves you money on repairs and replacements—resulting in significant cost savings over time.
Additionally, softened water has health benefits; it can lead to softer skin and healthier hair, reducing the need for moisturizing products.
You’ll also notice cleaner dishes and laundry, as soap and detergent work more effectively in soft water.
Embracing a water softener can transform your daily living experience.
Types of Water Softeners
When you’re considering a water softener, it’s essential to know that there are several types available, each designed to address specific needs and preferences.
Salt-based systems are the most common, using ion exchange to effectively remove hardness minerals like calcium and magnesium. These systems require regular salt replenishment, guaranteeing peak performance.
Alternatively, dual tank systems can be beneficial for larger households. They feature two resin tanks, allowing continuous softening even when one tank is regenerating.
This guarantees a steady supply of soft water, which is especially valuable during peak usage times, like morning showers.
Choosing the Right Water Softener for Your Home
Selecting the right water softener for your home involves evaluating several factors that can impact both performance and efficiency.
Start by testing your water quality to determine hardness levels, which can guide your choice. For instance, if your water hardness exceeds 10 grains per gallon, you’ll need a system capable of handling that level.
Next, consider the system capacity. Calculate your household’s daily water usage; a family of four typically requires a unit with at least a 30,000-grain capacity. This guarantees the softener operates efficiently without frequent regeneration cycles.
Finally, think about the type of softener—ion exchange or salt-free systems—based on your preferences and specific needs.
Making informed choices here sets the foundation for maximum water softening.
Tools and Materials Needed for Installation
Before you start the installation of your water softener, gather the essential tools and materials to guarantee a smooth process.
You’ll need installation tools like a pipe wrench, adjustable pliers, and a screwdriver set. Don’t forget a utility knife for cutting tubing.
For required materials, collect PVC pipes, fittings, and Teflon tape to ensure leak-proof connections. You might also need a valve adapter, depending on your plumbing system.
Additionally, have a bucket handy to catch any residual water during the installation. If your system requires salt, stock up on the appropriate type as well.
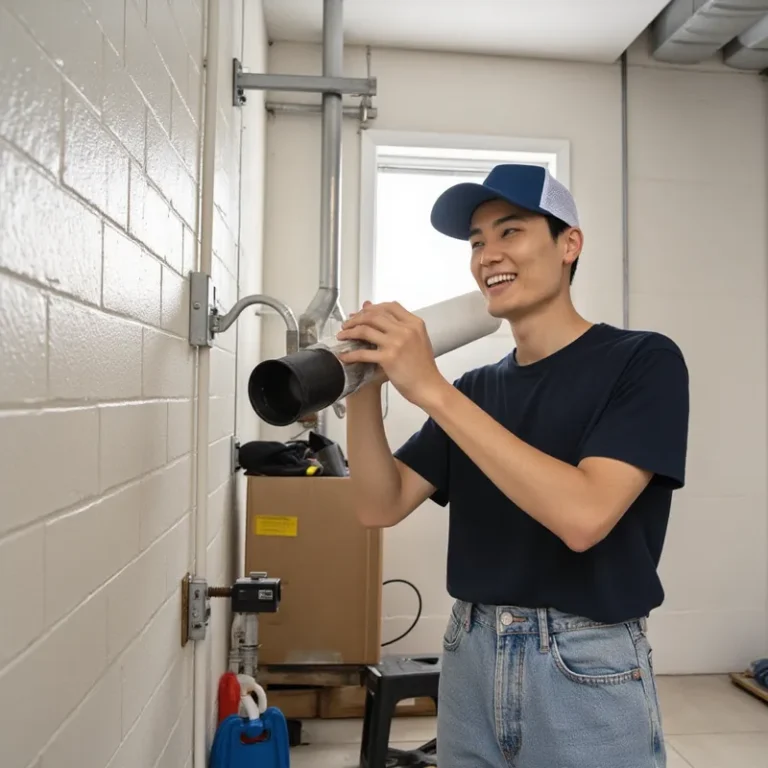
Step-by-Step Installation Process
To install your water softener effectively, follow these eight essential steps to guarantee a successful setup.
First, locate the main water supply line and shut it off.
Second, flush the pipes to remove debris that could cause installation challenges.
Third, position the softener near a power outlet and drain.
Fourth, connect the inlet and outlet pipes, ensuring they match the softener’s specifications.
Fifth, attach the drain line, making sure it’s secured properly.
Sixth, fill the brine tank with salt, following the manufacturer’s recommendations for ideal water quality.
Seventh, turn the water back on and check for leaks.
Finally, run a test cycle to confirm functionality.
Setting Up the Regeneration Cycle
After completing the installation of your water softener, it’s time to set up the regeneration cycle, which guarantees that your system continues to operate effectively.
First, access your softener’s control panel, where you’ll find the regeneration settings. Adjust the cycle frequency based on your water usage and hardness level; typical settings range from every 3 to 7 days. For example, if your household consumes more than average, opt for a shorter cycle frequency.
Next, verify the salt level in the brine tank is adequate, as this influences the regeneration process.
Finally, save your settings and initiate a manual regeneration to confirm everything functions properly. Monitoring these settings will help maintain peak performance of your water softener.
Maintenance Tips for Your Water Softener
While regular use of your water softener guarantees ideal performance, consistent maintenance is vital to prolong its lifespan and efficiency.
Establish a maintenance schedule to check the salt levels monthly and refill as needed, making certain it never drops below the recommended level.
Regularly inspect the brine tank for any salt crusting; if you notice it, clean it out to prevent clogging.
Performance monitoring is significant—check the water hardness levels periodically using test strips. If you notice an increase in hardness, adjust your regeneration settings or check for clogs in the resin tank.
Finally, consider scheduling professional servicing annually to ensure your system operates at peak efficiency, catching potential issues before they escalate.
Troubleshooting Common Installation Issues
Although installing a water softener can seem straightforward, several common issues may arise during the process that can hinder ideal performance.
Here are some troubleshooting tips to help you resolve them:
- Leak Detection: Regularly inspect connections and fittings. If you notice water pooling around the unit, tighten the fittings or replace faulty seals immediately.
- Pressure Adjustments: Verify the incoming water pressure is within the recommended range. If pressure is too high, install a pressure regulator to avoid damage.
- Brine Tank Overflows: If the brine tank overflows, check the float assembly for proper function and clear any blockages in the drain line.
Post-Installation Guide: Monitor, Maintain, and Enjoy Soft Water
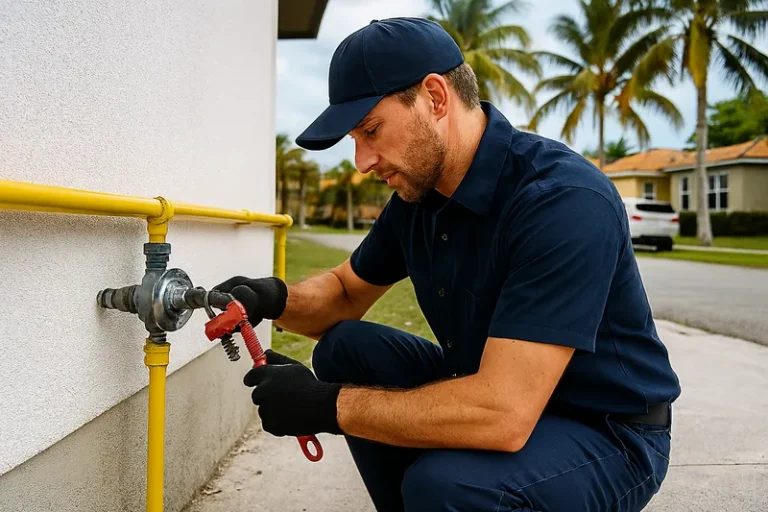
Now that you’ve installed your water softener, the real test begins. Will it effectively transform your hard water into a silky smooth flow? Keep a close eye on your system’s performance in the coming weeks. Regular maintenance is essential—don’t let a minor oversight lead to costly repairs. If you notice any unusual changes, act fast! Remember, the key to long-lasting efficiency lies in your hands. Stay alert, and enjoy the benefits of soft water!
If you prefer a professional plumbing water softener installation service, we have plumbers available in your area. Call us now for a free quote and to schedule your installation.